If you’re looking for a cost-effective and eco-friendly way to organize your books or display your favorite items, making a cardboard bookcase might be the perfect solution. Not only is it affordable, but it also allows for customization and creativity while repurposing materials that would otherwise go to waste.
For those interested in more detailed steps and variations, our guide on how to make a bookshelf from cardboard offers additional insights and techniques to customize your design.
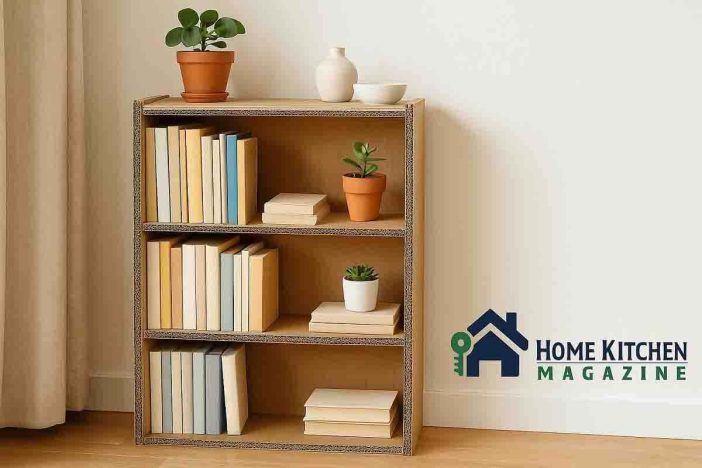
Why Choose a Cardboard Bookcase?
A cardboard bookcase may sound fragile, but when constructed properly, it can be surprisingly sturdy and versatile. Here’s why it’s worth considering:
- Eco-friendly: Repurposing cardboard boxes helps reduce landfill waste.
- Affordable: Most materials can be found around your home or purchased cheaply.
- Lightweight and Portable: Easy to move, especially for renters, students, or frequent movers.
- Creative and Customizable: Design your own shape, size, and color to match your home aesthetic.
According to the U.S. Environmental Protection Agency, reusing materials like cardboard not only helps reduce household waste but also conserves resources and energy. DIY projects such as a cardboard bookcase are a smart and sustainable way to give discarded items a new purpose. Beyond saving money, you also contribute to environmental well-being. Learn more about recycling principles and reuse best practices from the EPA’s recycling guide.
Tools and Materials You’ll Need
- Large cardboard boxes (from appliances or furniture)
- Ruler or measuring tape
- Pencil
- Box cutter or utility knife
- Hot glue gun or strong craft glue
- Packing tape or duct tape
- Paint, wallpaper, or fabric (for decoration)
Step-by-Step Guide: How to Make a Cardboard Bookcase
Step 1: Plan Your Design
Start by deciding the dimensions and structure of your cardboard bookcase. How many shelves do you need? Will it be tall and narrow or short and wide?
Sketch a simple layout. Standard dimensions for small bookcases range from 24-36 inches in height, 12 inches deep, and 18-36 inches wide.
Step 2: Cut the Cardboard
Using your measurements, mark and cut the cardboard panels:
- Two sides
- Top and bottom
- Back panel
- Shelves (cut double for reinforcement)
Use a box cutter on a flat surface and be sure to apply even pressure.
Step 3: Assemble the Frame
Glue the side panels to the bottom base. Then attach the top panel and secure all corners with tape for added strength. Fix the back panel last using both glue and tape to ensure rigidity.
Step 4: Insert the Shelves
Measure and mark shelf positions inside the side panels. Glue one layer of shelf and reinforce it by gluing another layer beneath it. Allow it to dry before continuing.
Tips for Making It Stronger
- Use double or triple layers of cardboard for every shelf.
- Add support beams using rolled cardboard tubes or triangular braces under the shelves.
- Avoid placing heavy objects; ideal load is 2–4 kg per shelf.
Creative Decoration Ideas
- Paint your bookcase using acrylic or spray paint.
- Cover surfaces with colorful contact paper or leftover wallpaper.
- Add labels or stencils for a fun touch, especially for children’s rooms.
Practical Uses for a Cardboard Bookcase
- Children’s rooms: Store storybooks and toys safely.
- Study corners: Hold notebooks, journals, and stationery.
- Craft stations: Organize yarns, papers, and tools.
- Temporary displays: Great for exhibitions or garage sales.
Alternatives and Upgrades
If you want to level up your design, consider:
- Adding casters (small wheels) at the bottom
- Reinforcing with thin plywood sheets glued inside the panels
- Using zip ties or Velcro for modular assembly
Safety and Maintenance
Although cardboard is flammable and sensitive to moisture, placing your bookcase away from heat and using a waterproof spray can extend its life. Clean it using a dry cloth and avoid placing liquid containers nearby.
FAQ
How long does a cardboard bookcase last?
With proper care and indoor use, it can last 6–12 months or longer.
Can it hold hardcover books?
Yes, if shelves are reinforced and books are not overly heavy.
Is it safe for kids?
Absolutely—just ensure all corners are smooth, and the structure is stable.
Wrap It Up
Making your own cardboard bookcase is not only a great DIY project but also a practical, low-cost, and environmentally friendly solution for home storage. With just a few materials and some creativity, you can transform plain cardboard into a functional and stylish piece of furniture.
So don’t toss that big box—turn it into a bookshelf!


