There’s hardly an annoying sound other than the regular pop of a faucet that’s dripping. Replacing the seal is often enough to remedy the problem. You can do this yourself in just a few simple steps. As an immediate measure against the dripping noise, even a piece of string is sufficient.
Homekitchenmagazine.com | How To Fix a Dripping Faucet in Just a Few Steps – Only a few steps and materials are required to repair a leaking faucet. Before that, however, you should find out what the cause of the dripping faucet is. The most common trigger is a broken or worn seals.
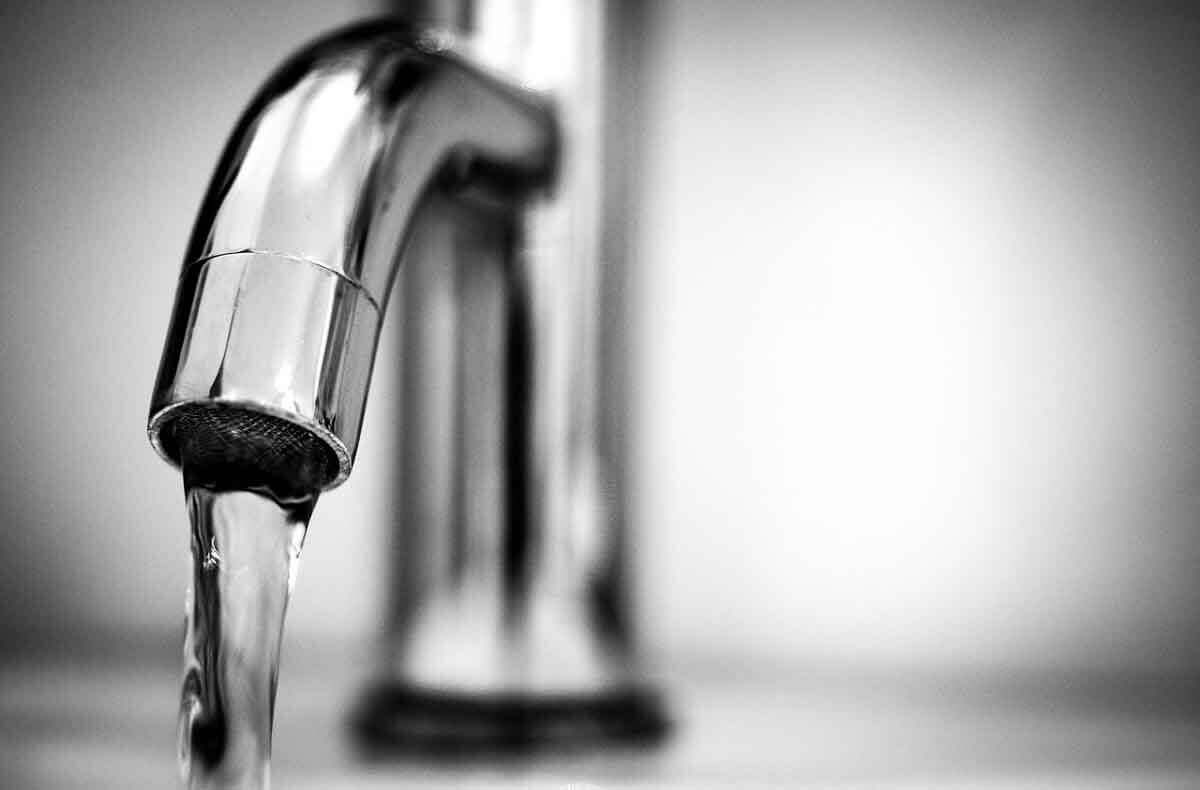
How To Fix a Dripping Faucet
Stop water supply
Before replacing the faucet seal or mixer tap, you must first turn off the water supply to the faucet. With an ordinary kitchen or sink faucet, you close the angle valve that comes out of the wall. If it drips in the shower or bath without a separate shut-off valve, the water supply for the entire apartment must be shut off.
Descale the seal
With a dripping water tap It often doesn’t help to tighten the handles even more. This damages both this and the seal. It is better to decalcify or remove the seal.
Leaking pipes: When repairing, always place a bucket underneath to catch excess water.
Change the rubber seal in the faucet
Before you can disassemble the faucet, you should first release the remaining pressure. To do this, turn on the tap slightly. Then the faucet handles are removed. It is often sufficient if you pull hard on the handle. If the handle can only be removed by unscrewing, turn the tap fully open and then continue unscrewing in the same direction with pliers.
Tip:
To avoid scratching the faucet, it is advisable to place a rag between the tongs and the kitchen faucet.
With a single-lever faucet, the first steps are a bit more complicated. To disassemble the faucet, you need to remove the cartridge. It is fixed with an Allen screw located under a cap on the handle. Remove the cap and use an Allen key to loosen the screw. Now you can remove the handle. Next, the decorative ring and the cartridge attachment must be loosened.
The exposed valve can now be unscrewed and removed. The seal is on the underside. In the case of the two-handle fitting, it is fastened to a metal disc with a nut. After the nut has been loosened, use a small screwdriver to pry the gasket out of its metal bed. With the one-hand fitting, the seals are in the cartridge.
If you don’t have a new seal to hand, you can simply turn the seal over as a first aid measure. However, this only works if the back is still smooth and even. Otherwise a new one is needed. These are available in any well-stocked hardware store. To assemble, perform all steps in reverse order.
Tip:
Before you reinstall the used seal upside down, you should clean it thoroughly with a soft, damp cloth. Avoid aggressive ones cleaning supplies. They can attack the material.
Descale the mixer tap
With a one-lever mixer tap, the procedure is somewhat different: With the usual tap variant, a cartridge with ceramic discs is responsible for sealing. If the tap drips, limescale deposits are usually responsible. As a first measure against dripping, it is often enough to move the tap to a different position.
If that does not help, the dirt must be removed. To do this, the handle is first unscrewed. Depending on the model, the screws for the lever are usually hidden on the front or back of the tap. After you have unscrewed the cartridge inside, the limescale deposits are cleaned with vinegar cleaner or citric acid removed. Then rinse the device with water and reinsert the cartridge.
Immediate help for dripping faucet
If you don’t have the time or the right material to repair the faucet immediately, you can at least use a trick to quickly eliminate the annoying dripping noise. To do this, tie a thread around the faucet and let the loose end hang down to the bottom of the tank. Then the drops run along the thread and make no noise.
Read more:
9 Easy Tips on How To Clean Stainless Steel Kitchen Utensils

 ♔ 2")
